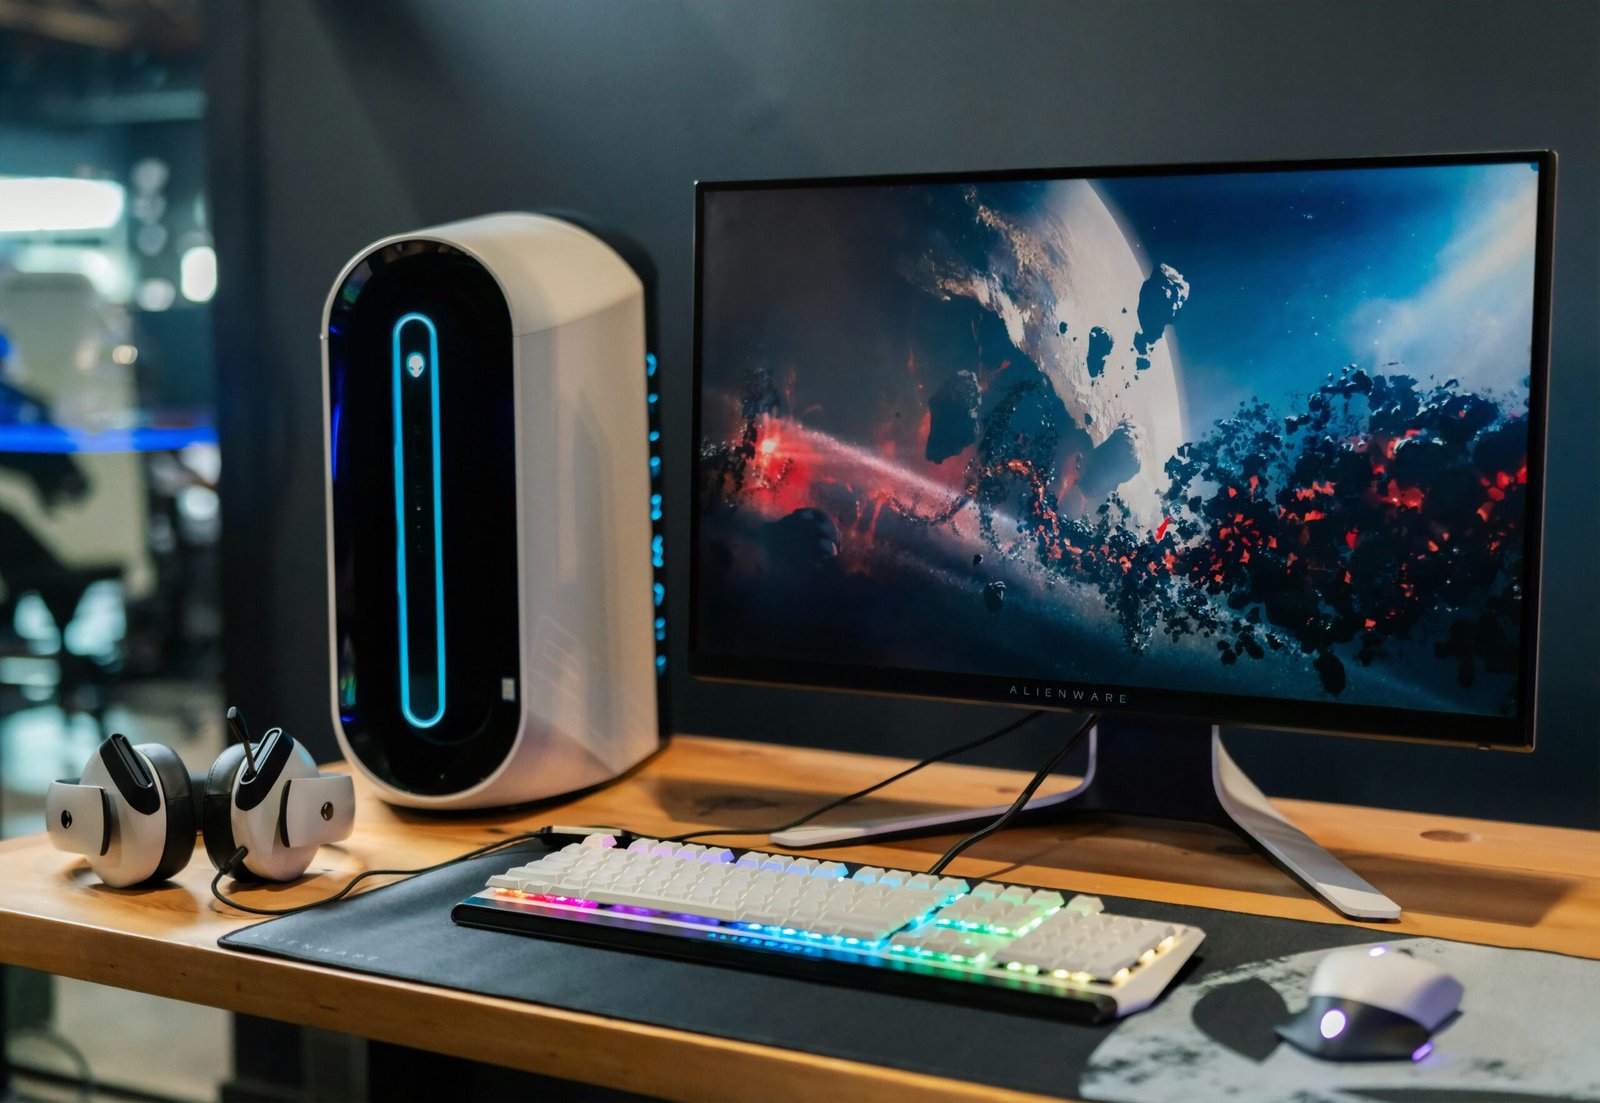
Setting Up a Dual Monitor Workstation for Increased Productivity
Having a dual monitor setup can greatly enhance your productivity by providing you with more screen real estate to work with. Whether you’re a professional who needs to multitask or a gamer who wants a more immersive experience, setting up a dual monitor workstation can make a world of difference. In this article, we’ll guide you through the process of setting up your dual monitor workstation for maximum productivity.
Step 1: Check Your Hardware
The first step in setting up a dual monitor workstation is to ensure that your computer and graphics card support multiple monitors. Most modern computers and laptops have built-in support for dual monitors, but it’s always a good idea to double-check.
Check the back of your computer or laptop for additional video output ports. Common ports include HDMI, DisplayPort, and VGA. If you have multiple ports, it’s a good indication that your computer supports dual monitors.
Step 2: Choose the Right Monitors
When selecting monitors for your dual monitor setup, there are a few factors to consider:
- Size: Choose monitors that are large enough to comfortably view multiple windows side by side. A 24-inch monitor is a popular choice for dual monitor setups.
- Resolution: Higher resolutions, such as 1920×1080 (Full HD) or 2560×1440 (QHD), will provide you with more screen real estate.
- Connectivity: Make sure the monitors you choose have compatible ports with your computer. HDMI and DisplayPort are the most common options.
Step 3: Connect Your Monitors
Once you have your monitors, it’s time to connect them to your computer. Here’s how:
- Turn off your computer and unplug it from the power source.
- Connect one end of the video cable to the video output port on your computer and the other end to the corresponding port on your first monitor.
- Repeat the previous step for the second monitor.
- Plug your computer back in and turn it on.
Step 4: Configure Your Display Settings
After connecting your monitors, you’ll need to configure your display settings to take advantage of the dual monitor setup. Here’s how:
- Right-click on your desktop and select “Display settings” from the context menu.
- In the display settings window, you’ll see a diagram showing your monitors. Click on the monitor icons and arrange them according to their physical placement on your desk.
- Adjust the resolution and scaling settings for each monitor to ensure a seamless experience.
- Choose whether you want to extend your desktop across both monitors or duplicate the same content on both.
Step 5: Optimize Your Workflow
Now that your dual monitor setup is complete, it’s time to optimize your workflow to maximize productivity:
- Organize your windows: Use one monitor for your primary tasks and the other for secondary tasks or reference materials. Arrange your windows in a way that makes sense for your workflow.
- Use virtual desktops: Take advantage of virtual desktops to further organize your workspace. Assign specific applications or tasks to different virtual desktops and switch between them seamlessly.
- Explore productivity tools: There are many productivity tools available that can enhance your dual monitor setup. From window management utilities to task management apps, find the tools that work best for you.
- Adjust your ergonomics: Position your monitors at eye level and ensure that your desk and chair are ergonomically designed for comfort. A comfortable workspace can help you stay focused and productive.
Conclusion
Setting up a dual monitor workstation can significantly improve your productivity and enhance your overall computing experience. By following the steps outlined in this article, you’ll be well on your way to creating a more efficient and effective workspace. Remember to choose the right monitors, connect them properly, configure your display settings, and optimize your workflow. With a well-designed dual monitor setup, you’ll be able to multitask with ease and accomplish more in less time.

